Sol-EC-464-Senior-Design-Project
12 May 2024 ·
10 min read
Sol-EC-464-Senior-Design-Project
Introduction
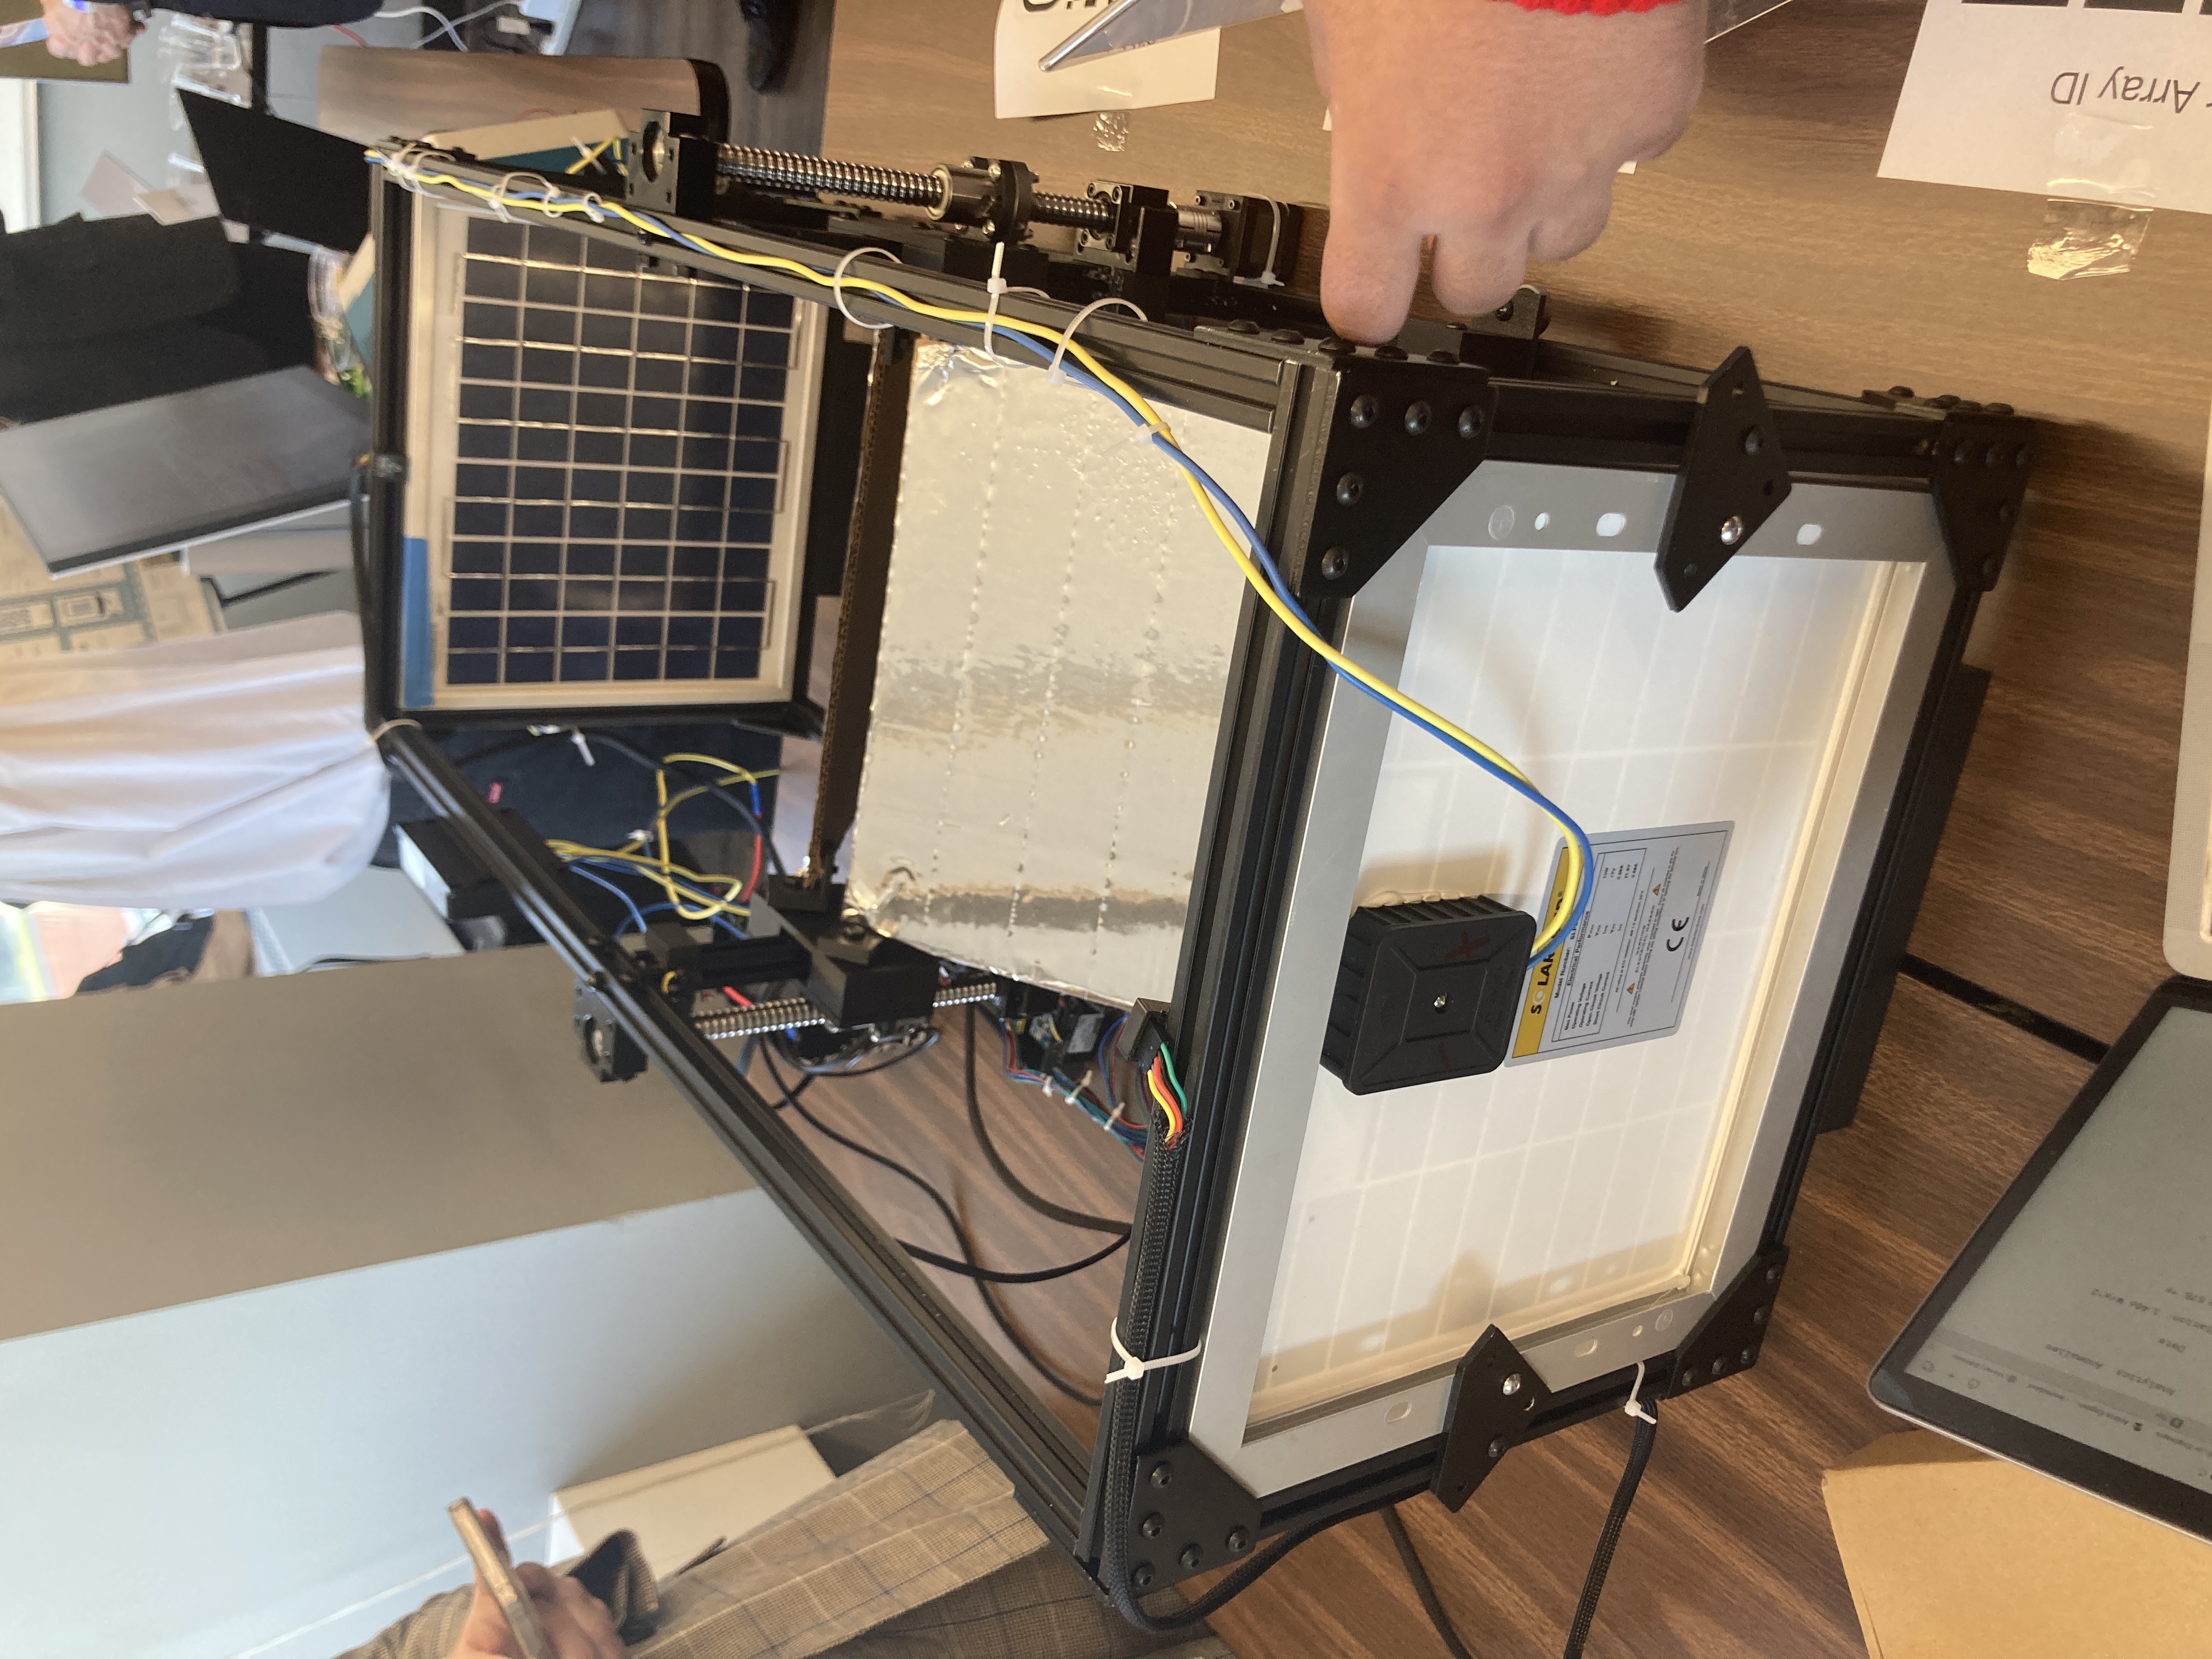
At Boston University, all students who are completing a degree in engineering must take a two semester sequence in which they complete a design project. For my senior design project my group I designed and manufactured a standalone solar power module in addition to a remote monitoring application and control system. Our system made use of two ball screws attached to a set of two reflectors. The ball screws (and by extension the reflectors) moved up and down based on the incident light intensity measured by two light sensors. This process repeats every couple of minutes to try and maximize the incident solar irraditation on the panels. This project was built for Professor at my university (Malay Mazumder) so that he and his research team would be able to test the efficacy of bifacial solar panels and reflectors over the course of a day.
I was in charge of the web application and monitoring system. My Tasks were as follows:
- Design a voltage regulator for the microcontrollers.
- Design the frontend of the application.
- Deploy a cloud hosted database to store the application data.
- Write a backend web server to interface between the front and backends.
- Write a control loop for the monitoring system (to be run on a raspberry pi pico w microcontroller) that would update the database with sensor
values and email everyone on an email list whenever an anomaly occured.
- Deploy the frontend site and backend.
The application used a MERN stack. The frontend was deployed on netlify manually, while the backend was deployed on render.com.
Voltage Regulator
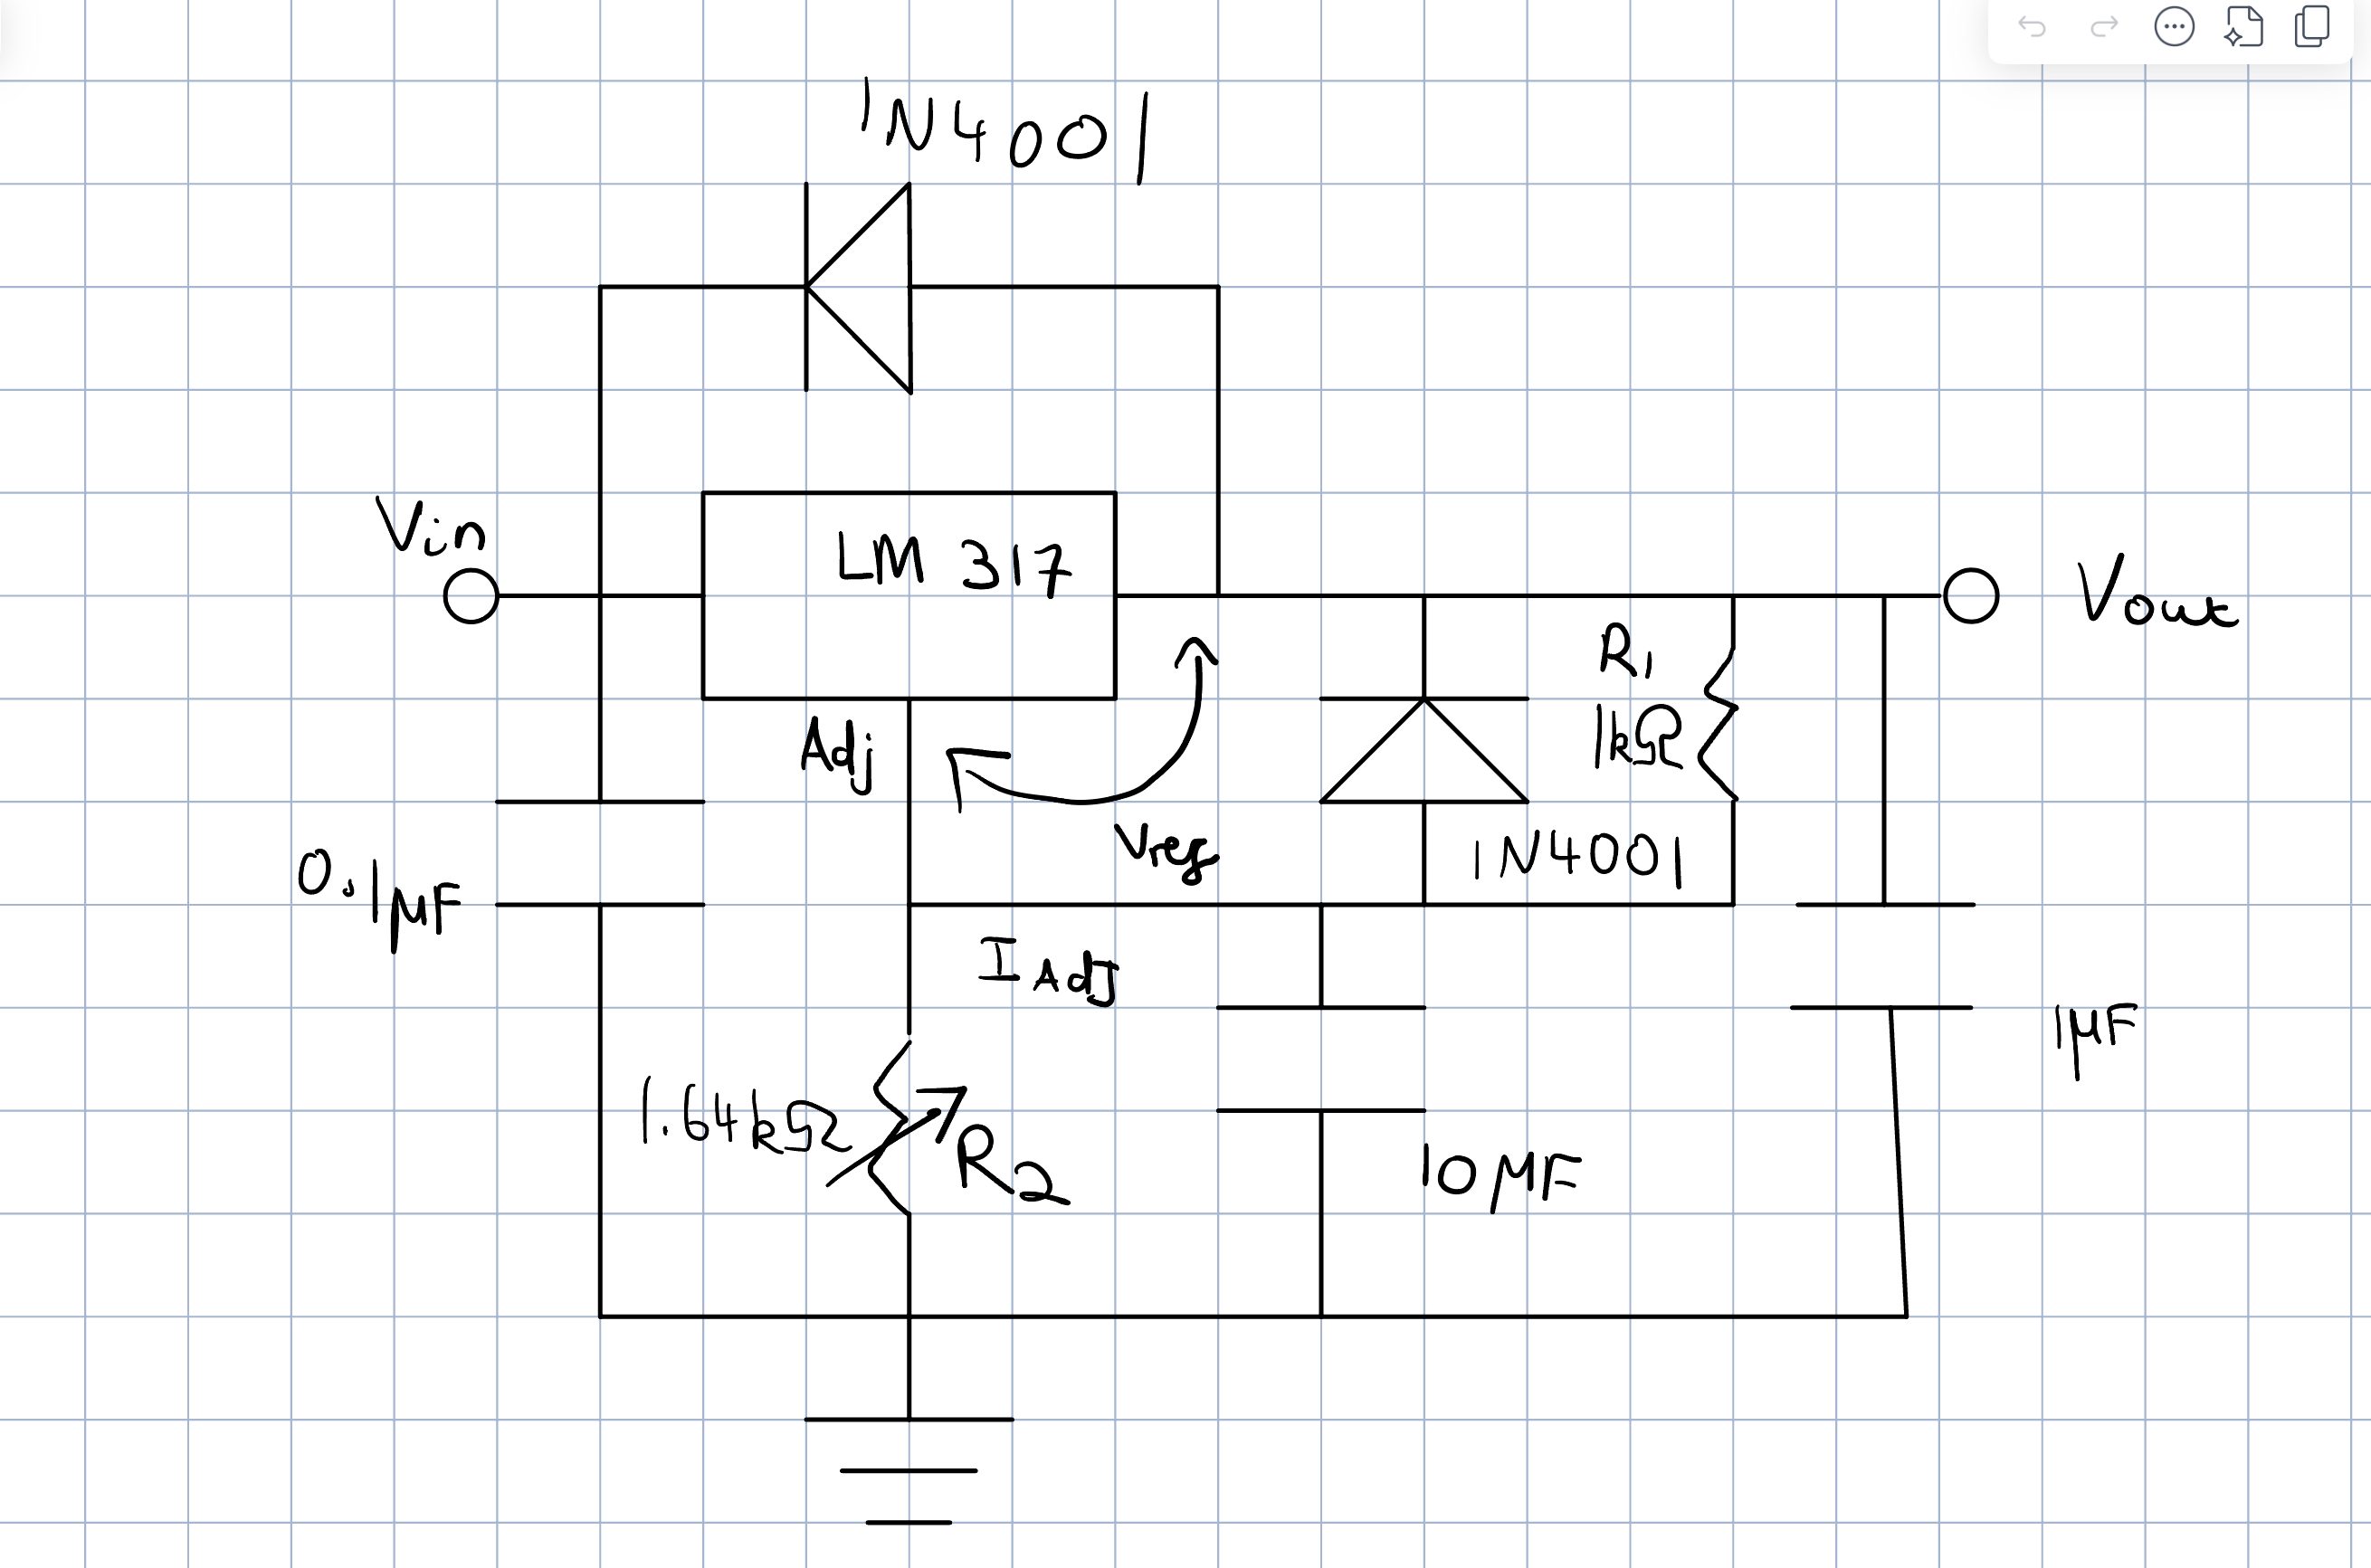
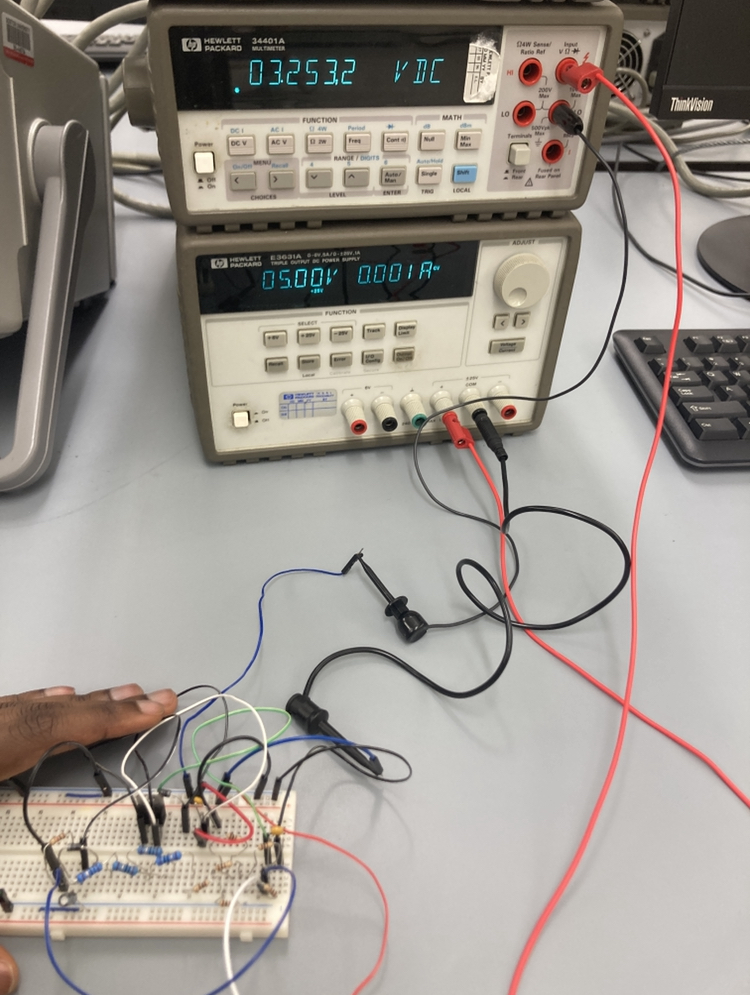
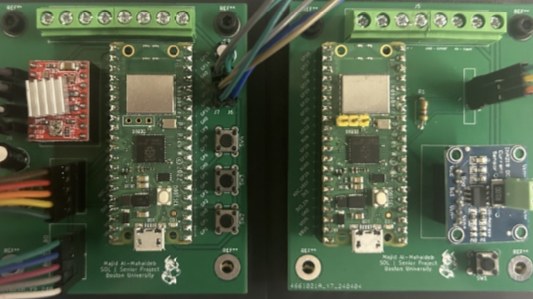
Our control system made use of two raspberry pi pico w microcontrollers that needed a stable 3.3V supply. In order to provide this, I designed a voltage regulator circuit. The voltage regulator was designed using the LM317 regulator component. By consulting the LM317 documentation and calculating the neccessary resistor values, I came to values of 1k Ohms for R1, and 1.64k Ohms for R2. In the end however, another premade circuit in the lab was used for the final PCB. Below are the schematic, circuit and final PCB of the Monitor and Control system.
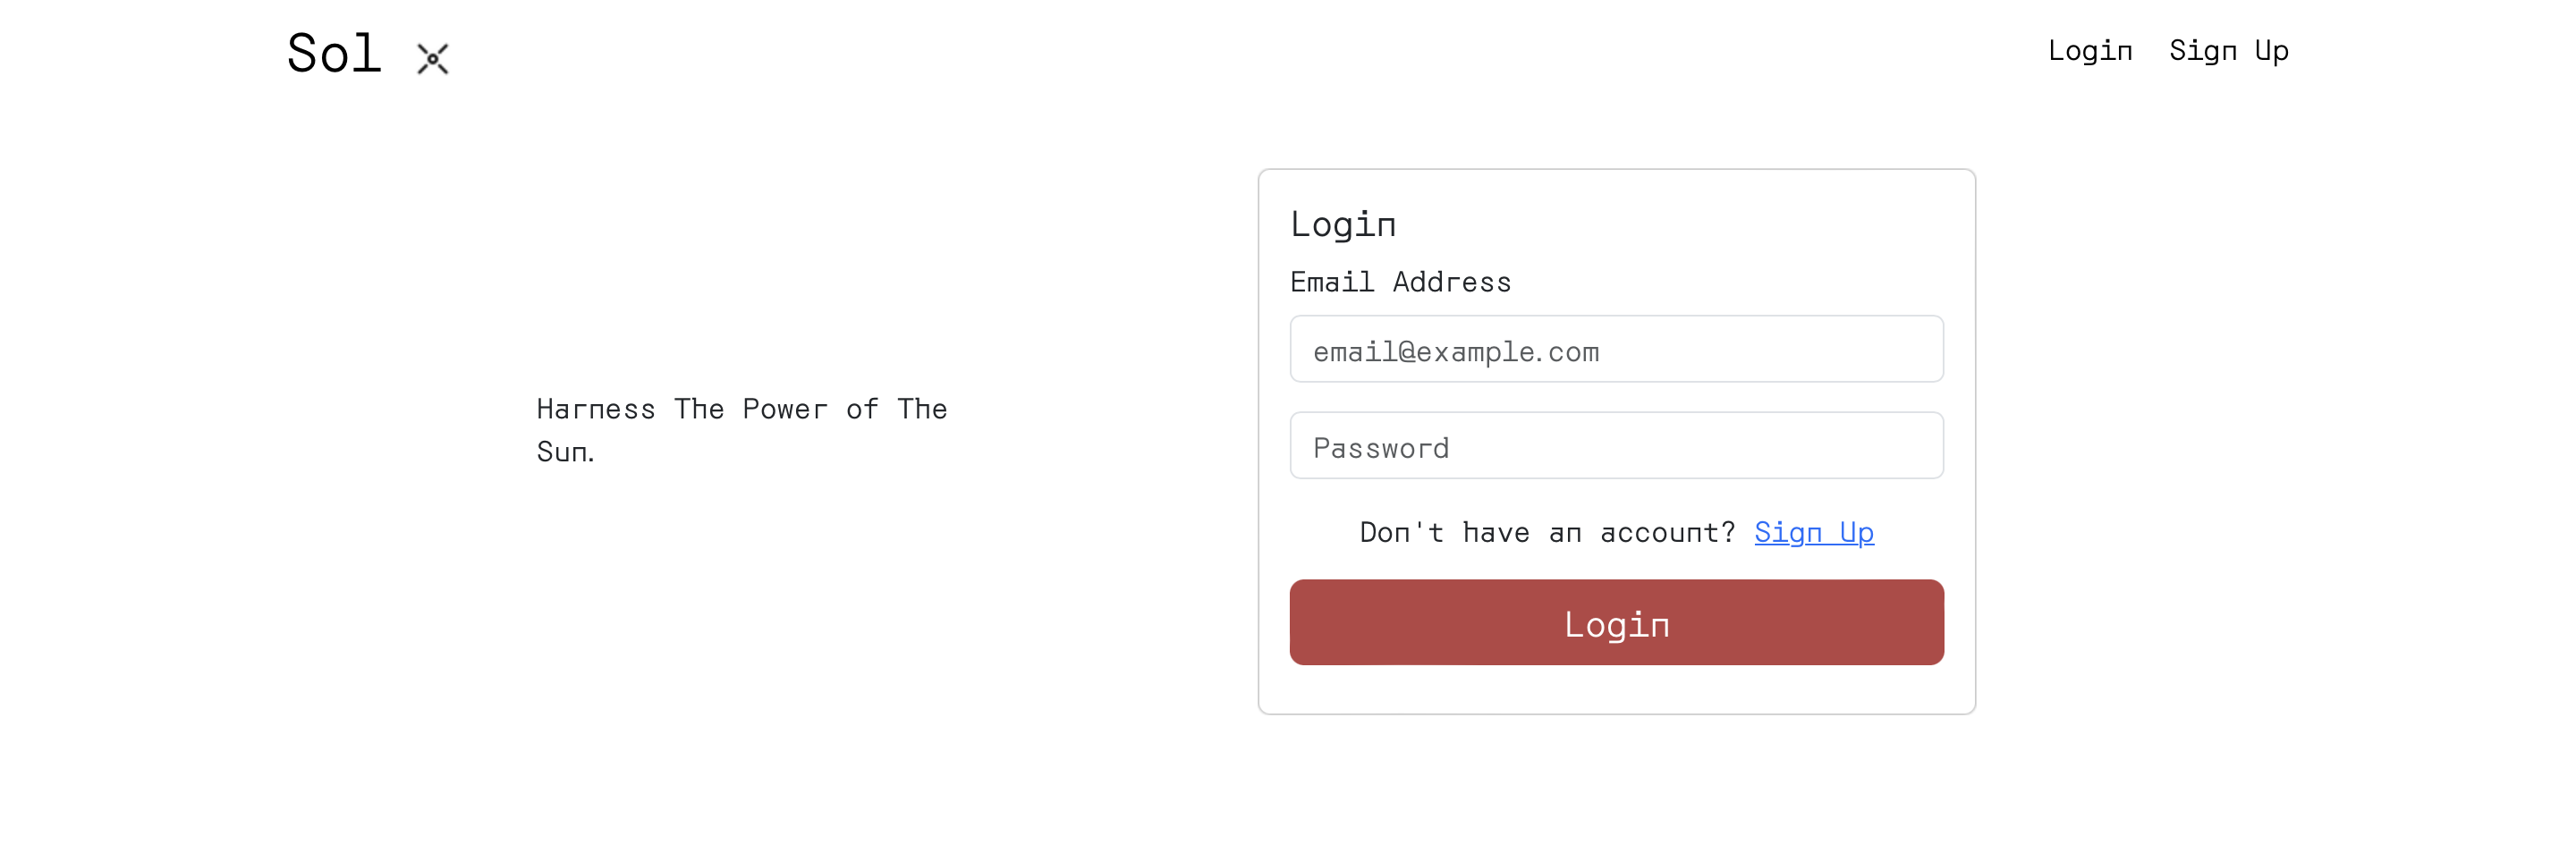
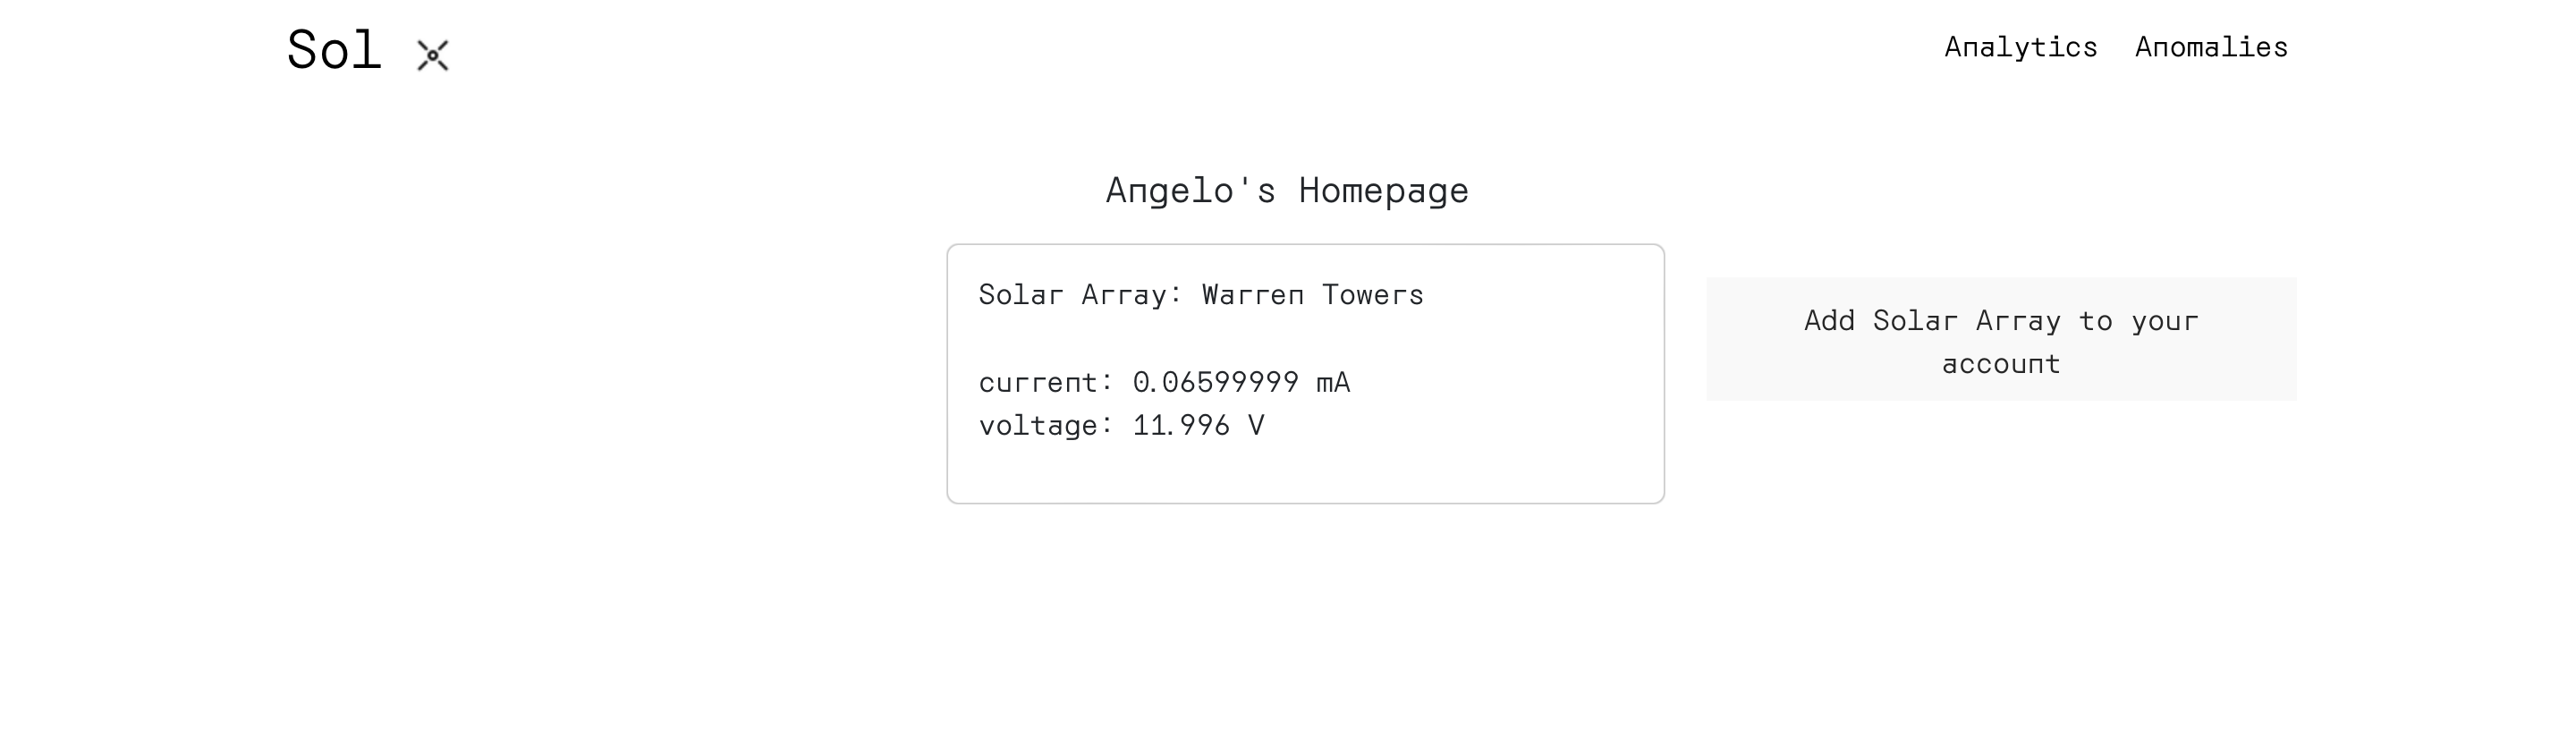
Frontend
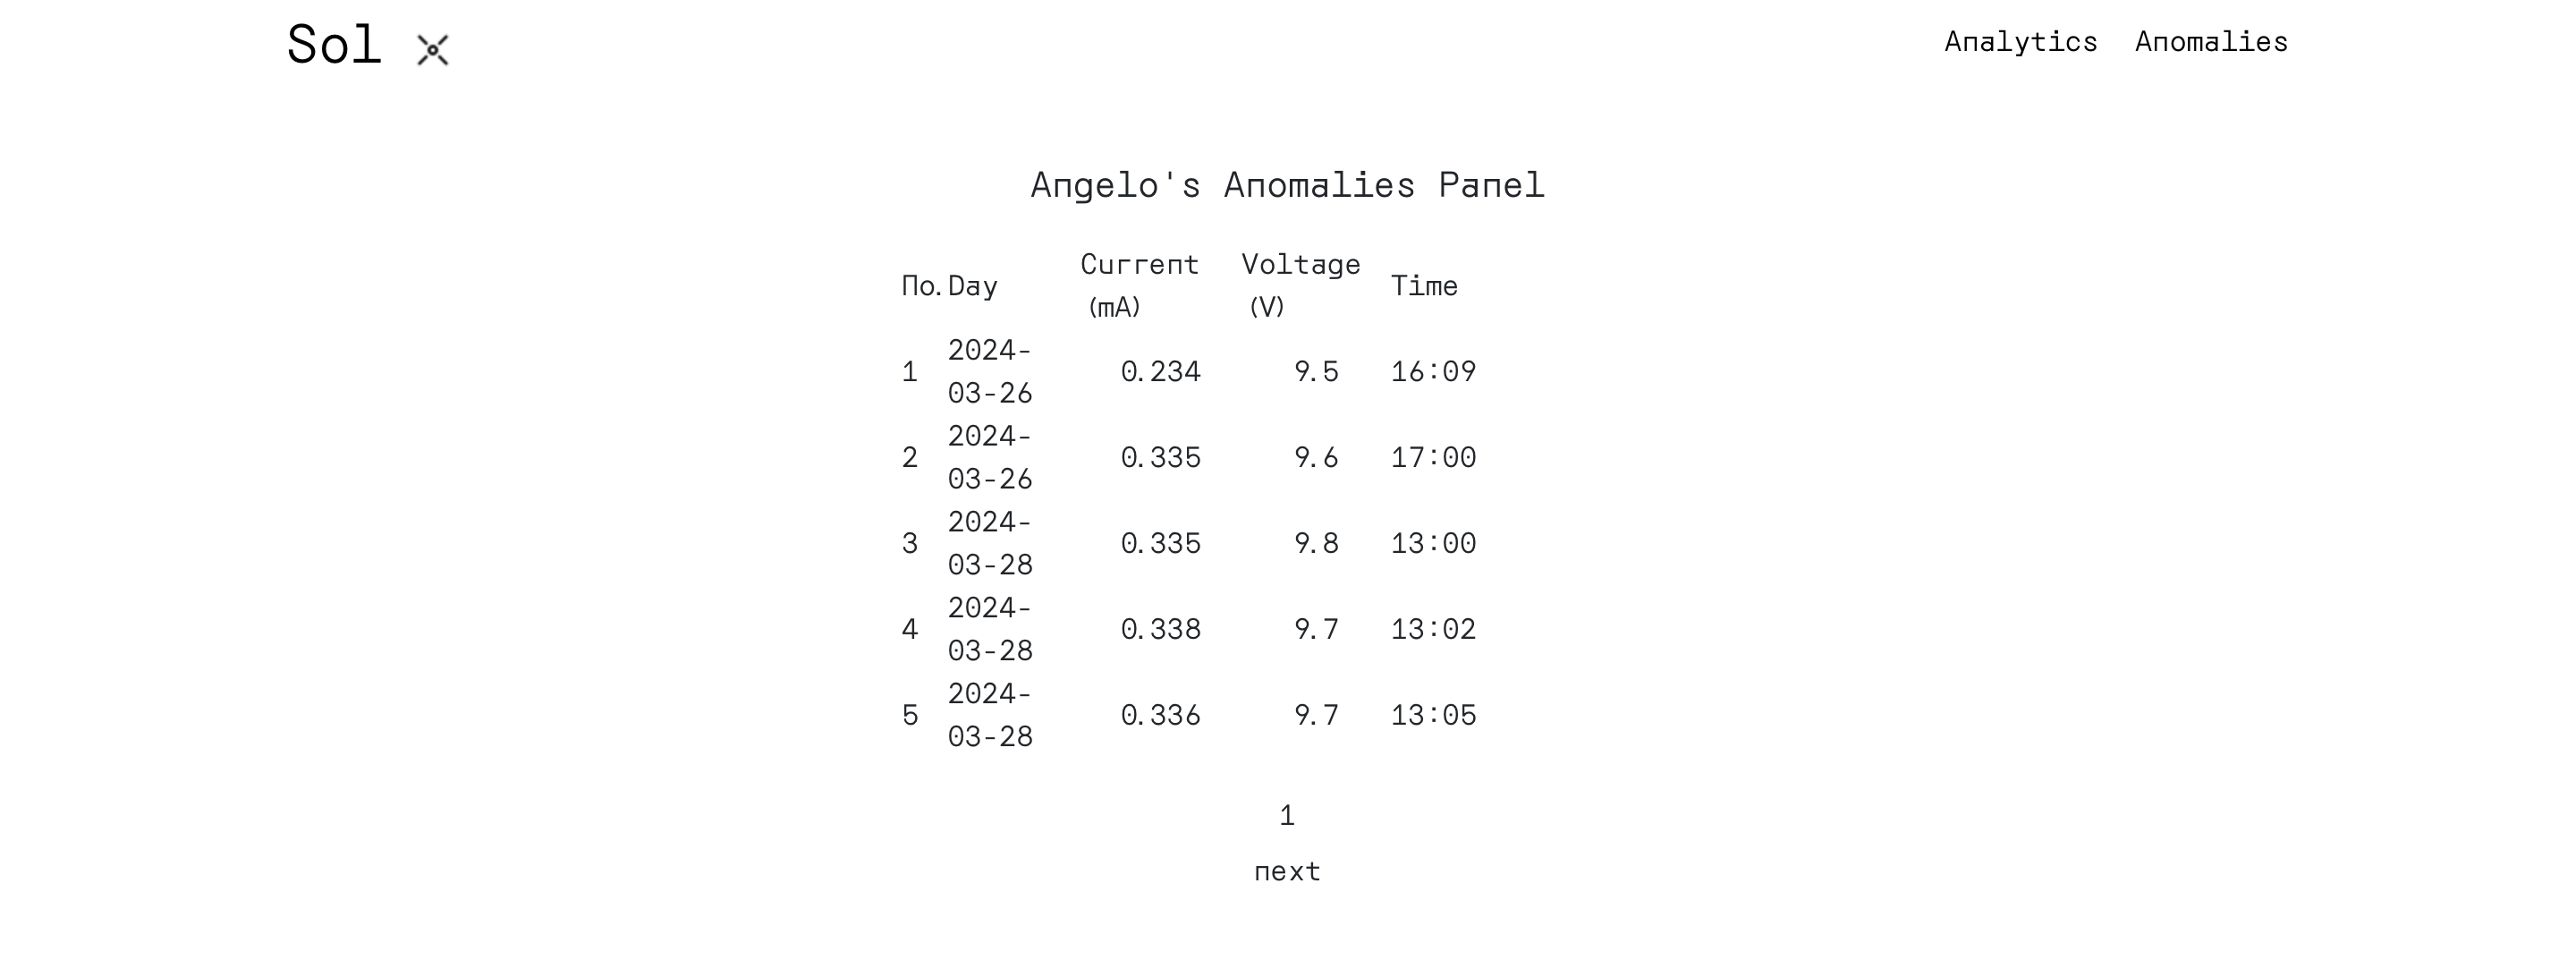
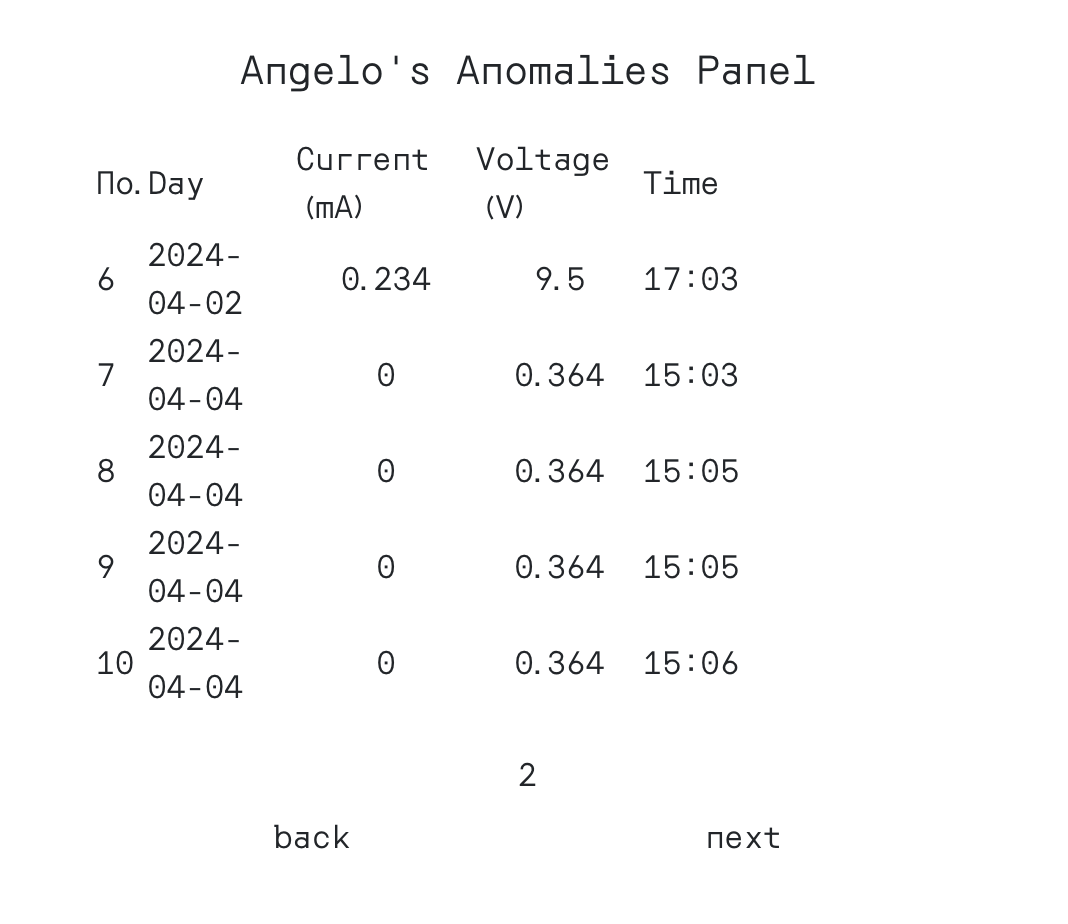
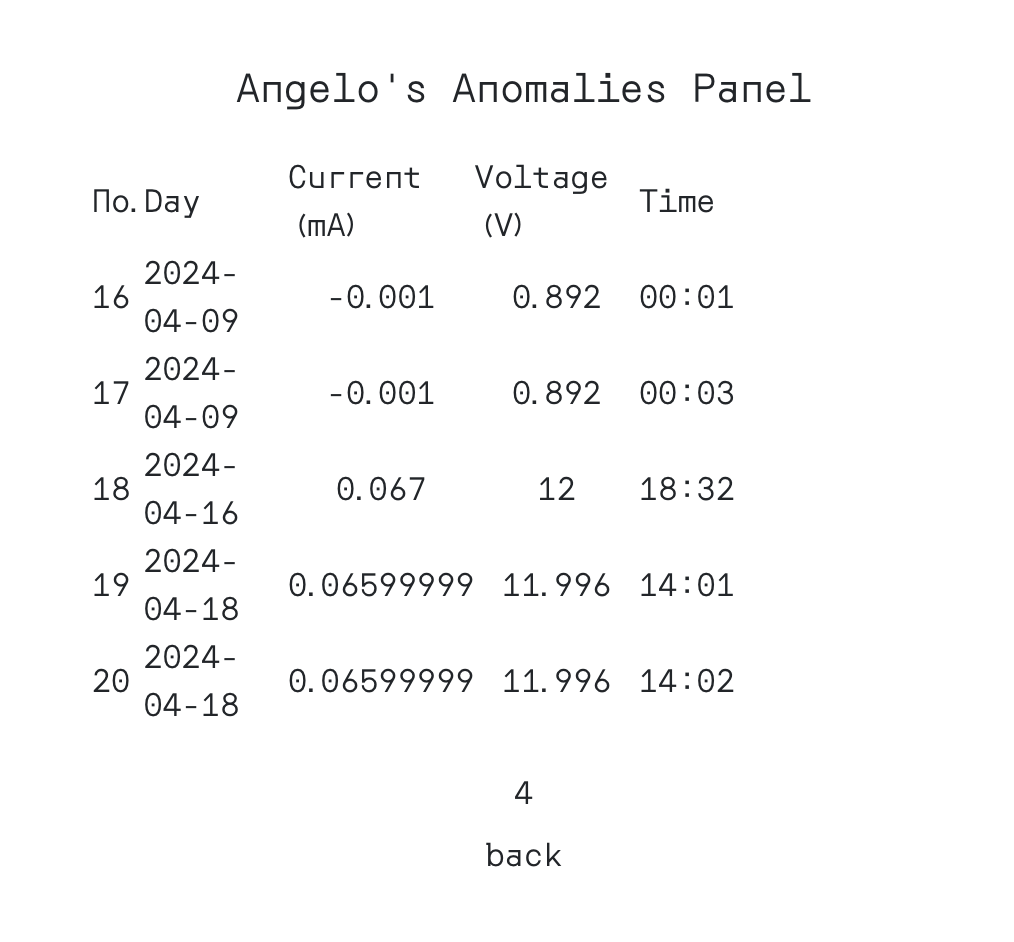
The frontend of my senior design web application was designed using html, css, javascript and vite (a react framework). React was chosen because of its ability to make reusable components for web applications in addition to its popularity and strong community. I used Bootstrap css for the login and signup forms, chart.js was used for the analytics graph, and mdb-react-ui-kit was used to produce the anomalies table. Below are screen shots of the sites main pages.
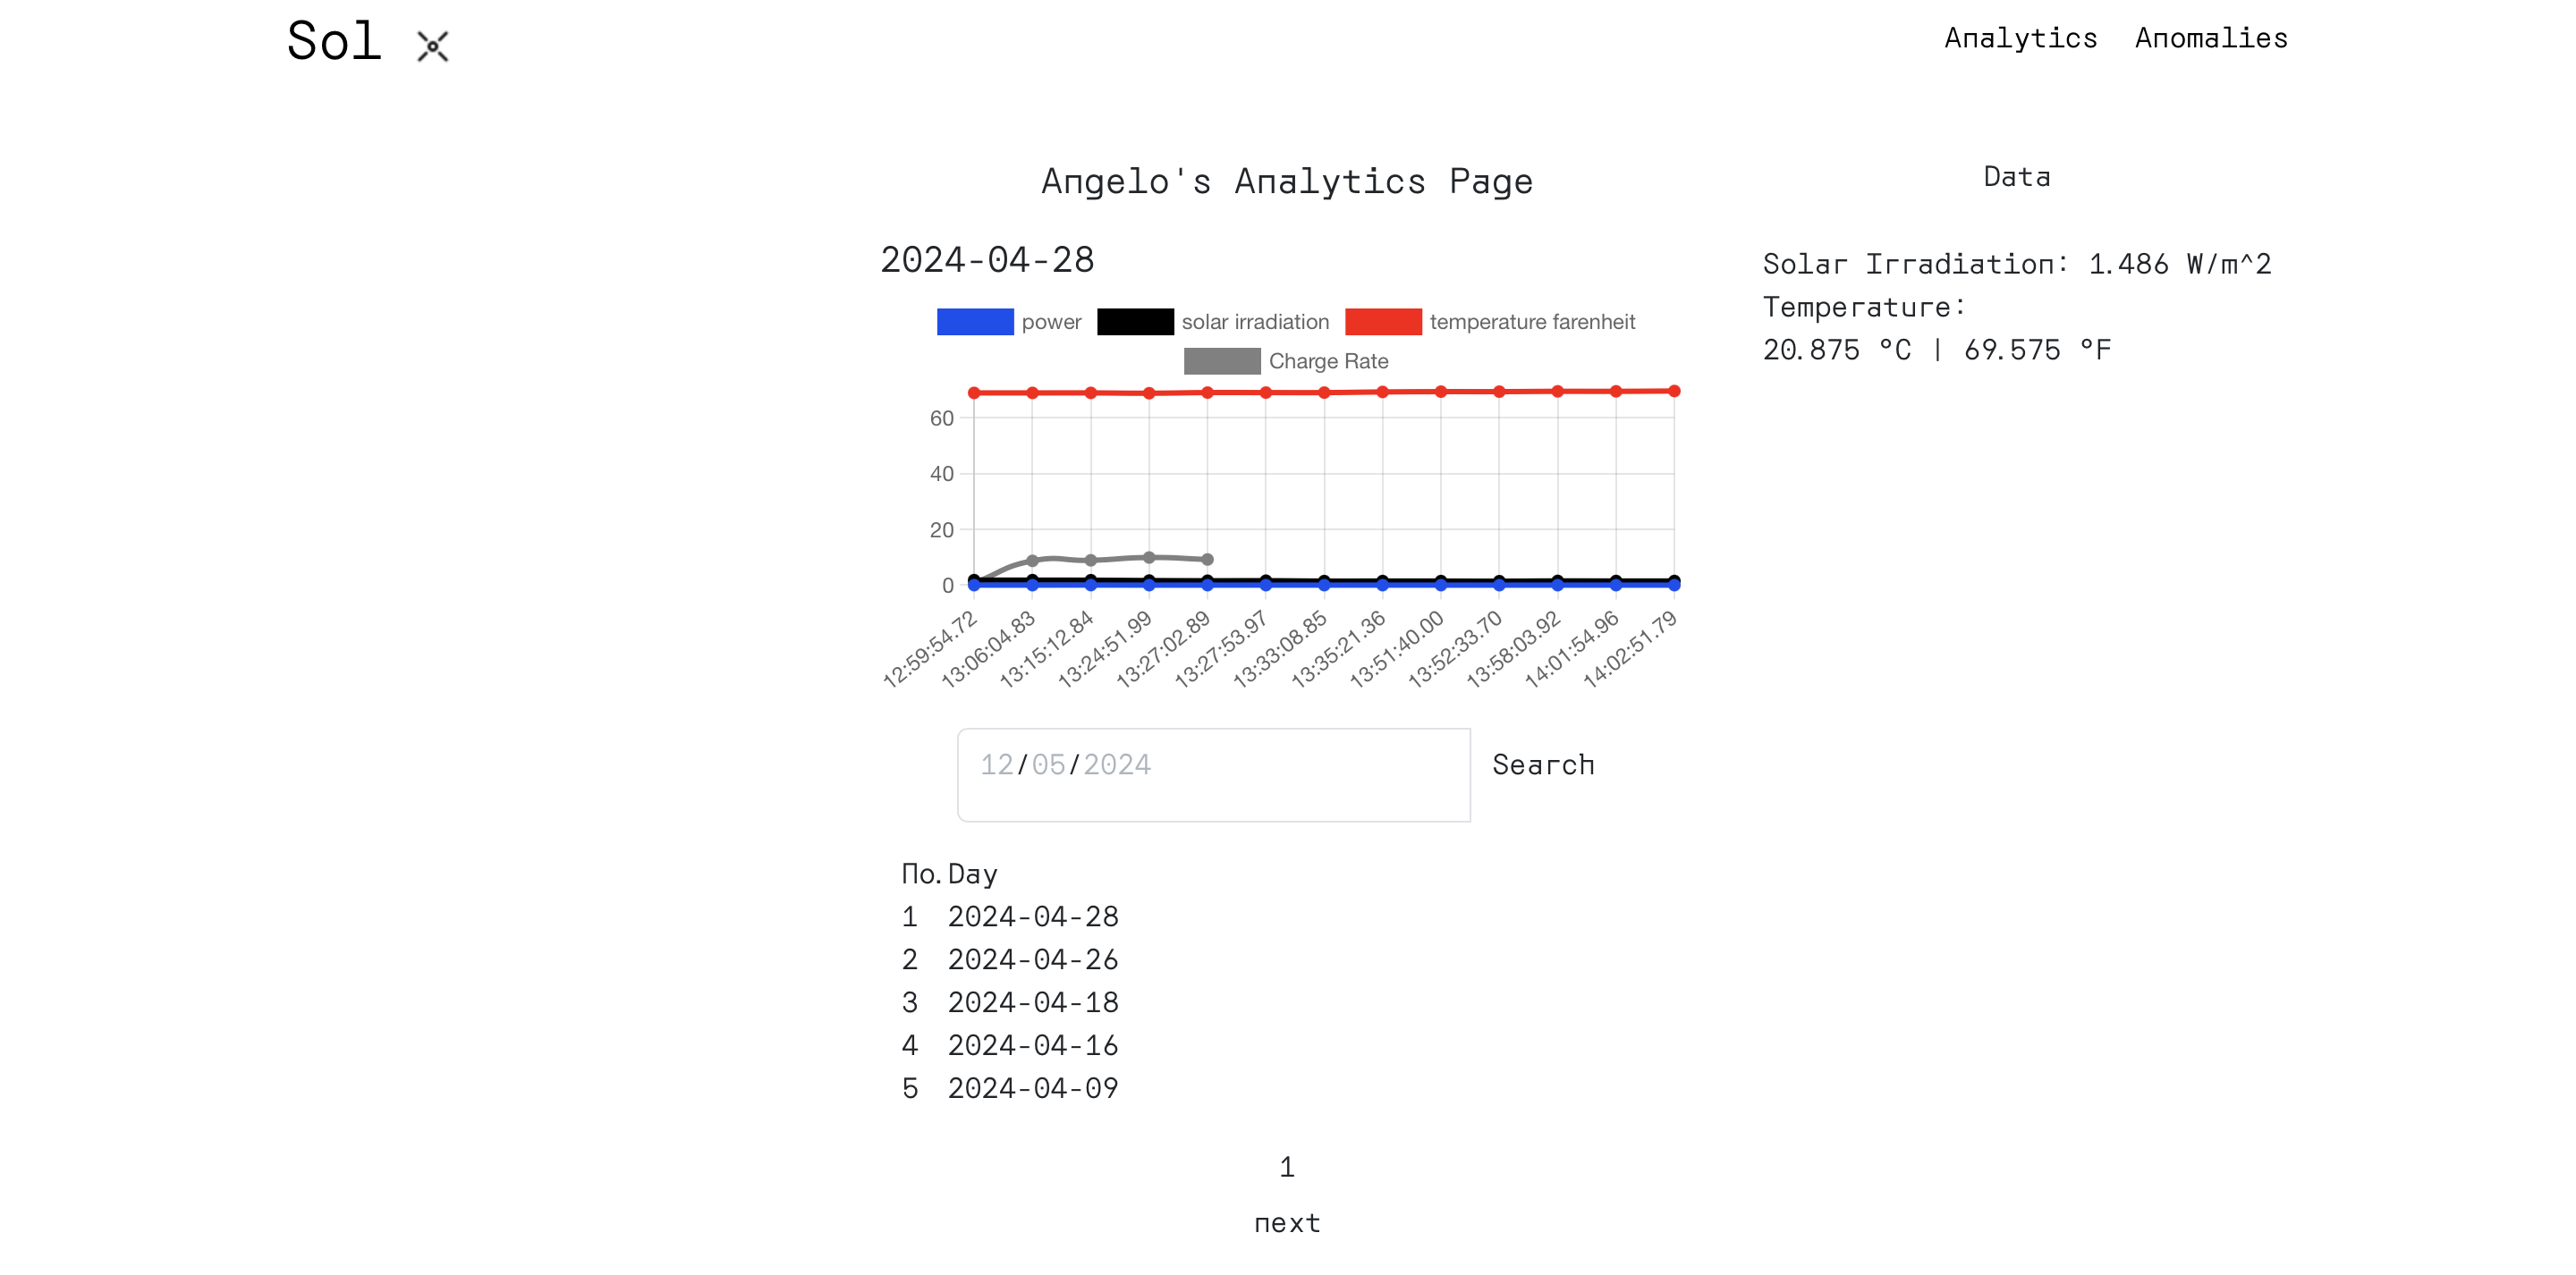
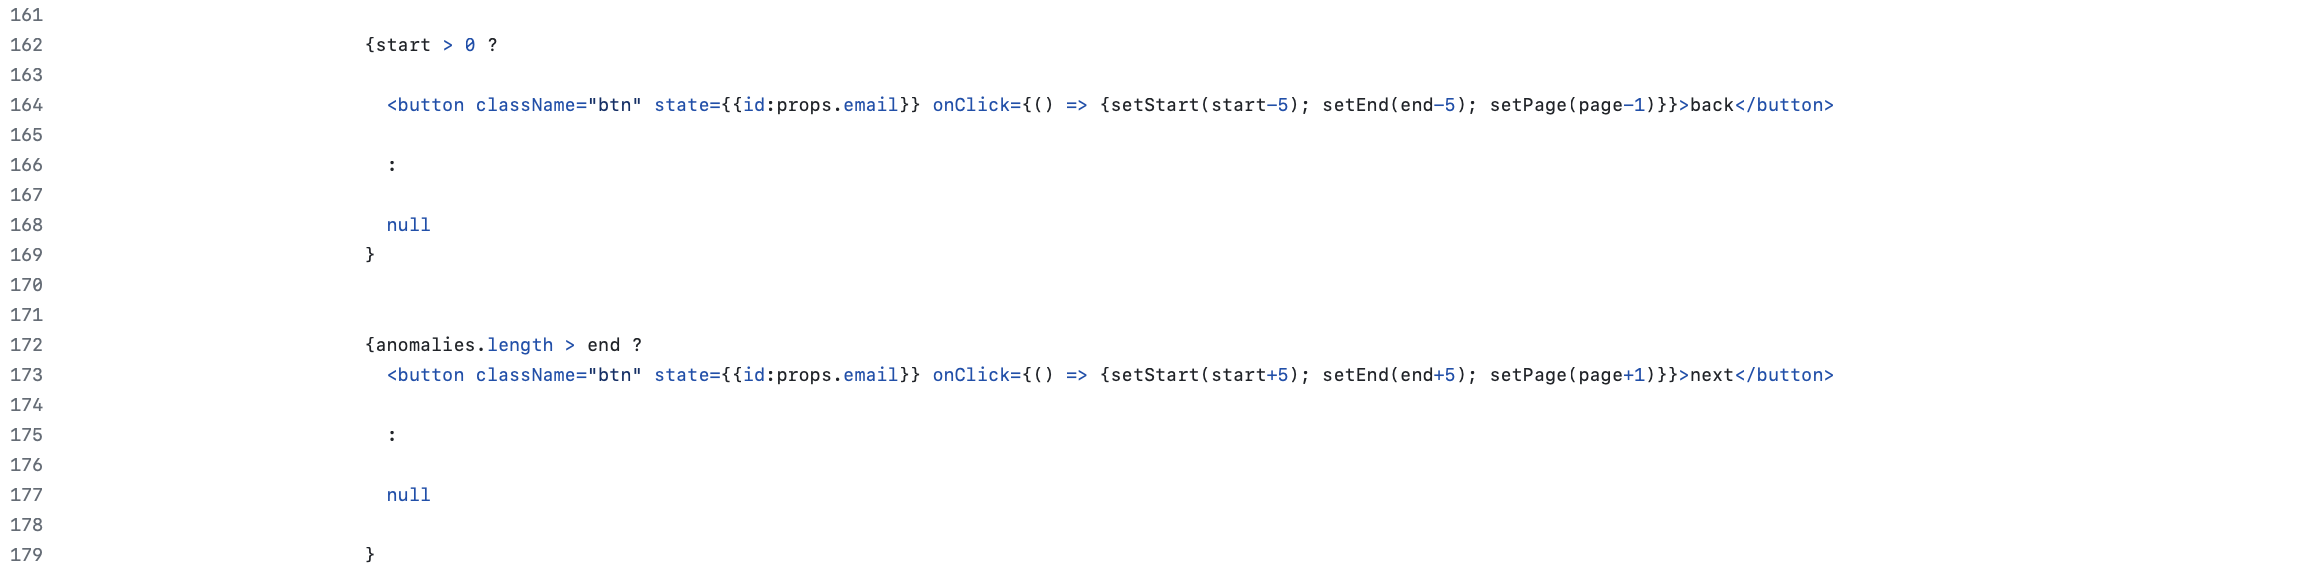
One of the front end features that I am proud of myself for implementing is the custom pagination. I created two buttons next and back.
Pressing next increments start and end by 5 and pressing end decrements start and end by 5. I used conditional rendering to render the two buttons.
The next button is only displayed if the current value of the end variable is less than the length of the array. The back button only appears
if the current value of start is greater than zero (the indexes of array elements begins from 0).

Cloud Hosted Database
I used mongoDB for our database. I got a shared time cluster on their Cloud Atlas platform that hosted our Sol database. The database has a series of collections (general storage buckets that contain documents). These collections contained login data, profiles, and sensor readings for different days. User data such as login and password wwere stored in the database from the frontend (through backend api requests), while sensor data was stored using the cloud Atlas data API.
Backend
Our backend application constisted of an express.js web server that was deployed on render.com as a web service. The server acts as an ibnterface between the frontend and database of our application. A decent amount of post requests were used (http requests that have json bodies associated with them in which necessary information is given). Some functionality just used get requests (These requests have no associated message body).
Key Issue When Deploying the Backend
When I tried to deploy the backend on render.com, the wrong system configurations for node would be used to try and install the necessary files. I had to use npm cache --force && npm install --force to install the right files before executing the server.cjs file in the Software/Web_App/src/backend/ folder of my repository. This installed the correct needed libraries for linux and allowed the file to run.
Below are an assortment of API get requests for our web server:
This link gets the data for every luminance and temperature graph in the database:
https://ec463-senior-design-stand-alone-solar.onrender.com/luminanceTempGraphData
This link gets the last measured luminance and temperature:
https://ec463-senior-design-stand-alone-solar.onrender.com/get_luminance_and_temp
This link gets the complete list of anomalies:
https://ec463-senior-design-stand-alone-solar.onrender.com/getAnomalies
Monitoring Control Loop
The control loop for the monitoring system was written by me and a teammate. My partner wrote the function libraries that we used to interface our sensors with our microcontrollers. I wrote the following controll loop (many function definitions have been removed for the sake of brevity).
The gist of the program is as follows:
- Initialize the the sensor pins.
- Use the worldtimeapi to get the current date and time
- Measure the current, voltage and power of the system
Updating the Database
- Set the filter dictionary filter with the current date
- Use the findOne command to check if a day in the associated collection exists. If no day exists a day is created by the findOne function
- Use the pushOne functions to update specific arrays with sensor values as well as dates and times.
- Use updateOne to update the current_days temperature readings.
The functions findOneDay and pushOneDay do the same as the above functions but for different collections in the database.
Anomaly Detection
- Get the email list for the solarArray
- Check if the current and voltage readings are below the set thresholds.
- send an email to everyone on the email list.
- Insert the anomaly into the anomalies collection of our database.
Finally, updateCurrentAndVoltage updates the current and voltage reading that is displayed on the Home page with the most recent values.
Deployment
Deploying the front end on netlify involved me having to use the vite build command in my home directory of the project on my laptop before draging this folder into the manula deployment box on my netlify home page. This was not difficult.
Key Issues When Deploying
When I tried to deploy the frontend on netlify, reloading a page would give me a 404 page not found error. This issue was resolved by
adding a _redirects file to my public directory in my app. The file contained only the following text:
/* /index.html 200
The file: https://github.com/angelo-soyannwo/EC463-Senior-Design-Stand-Alone-Solar-Project-Github/blob/main/Software/Web_App/public/_redirects
I also added this netlify.toml file to the base directory where I would run vite build (the Web_App folder).
The backend was deployed on render.com. I had to specify the neccessary build command and start commands.
Build command (to be run in Software/Web_App/src/backend/ folder of the repository once cloned) : npm cache --force && npm install --force
Start command (to be run in Software/Web_App/src/backend/ folder of the repository once cloned) : node server.cjs
Link to project: https://sol-ec-464-team-15.netlify.app/
Solar Array ID: 65539e775435e37264e3e6ff
Sample login: J@bu.edu
Password: password
GitHub Link: BU-2023-2024-EC-463-464-Team-15-Sol
Physical Project